A few weeks ago Dad went to North-Of-Nowhere, Canada for a moose hunt and met with success. I asked him to try and save a few pounds to bring home. After the warm and fuzzies of his return wore off, I was faced with 80 lbs. of one moose shoulder. Fortunately the shoulder came in various sized pieces. I kept my eye on this piece and made sure to claim it before anyone else in the FAMILY asked for it.
I’m not selfish… Just don’t come between me and food.
I had a few goals for this roast. Get rid of the gamey smell. Turn this very lean meat into something juicy. Try out a new mop, and how much flavor does mopping lend to the roast?
For 3-pound Moose Shoulder
While I had to brine overnight and spend 30 mins on prepping the grill – the amount of time the meat spent on the grill was less than 2 hrs.
I suggest reading through this a few times before beginning if you’ve never smoked on the grill before. For those who are old-hat at this smoking business and you’ve got any suggestions or a better way of doing this let me know in the comments!
Here’s the game plan for smoking
- Brine (the day before)
- Drain & Dry
- Prepare Grill
- Rub
- Smoke
- Mop & Replenish (as needed)
- Rest
- Eat!
1. Brine
- 1/4 cup Sea Salt or Kosher Salt
- 1/4 cup Sugar
- 2 tbsp ground Black Pepper
- 2 tbsp ground Ginger (or Ginger Paste)
- 1 tsp ground Cinnamon
- 1/2 tsp ground Clove
In a small saucepan add all the ingredients to 1 cup of water. Bring to a boil and stirring until the sugar dissolves.

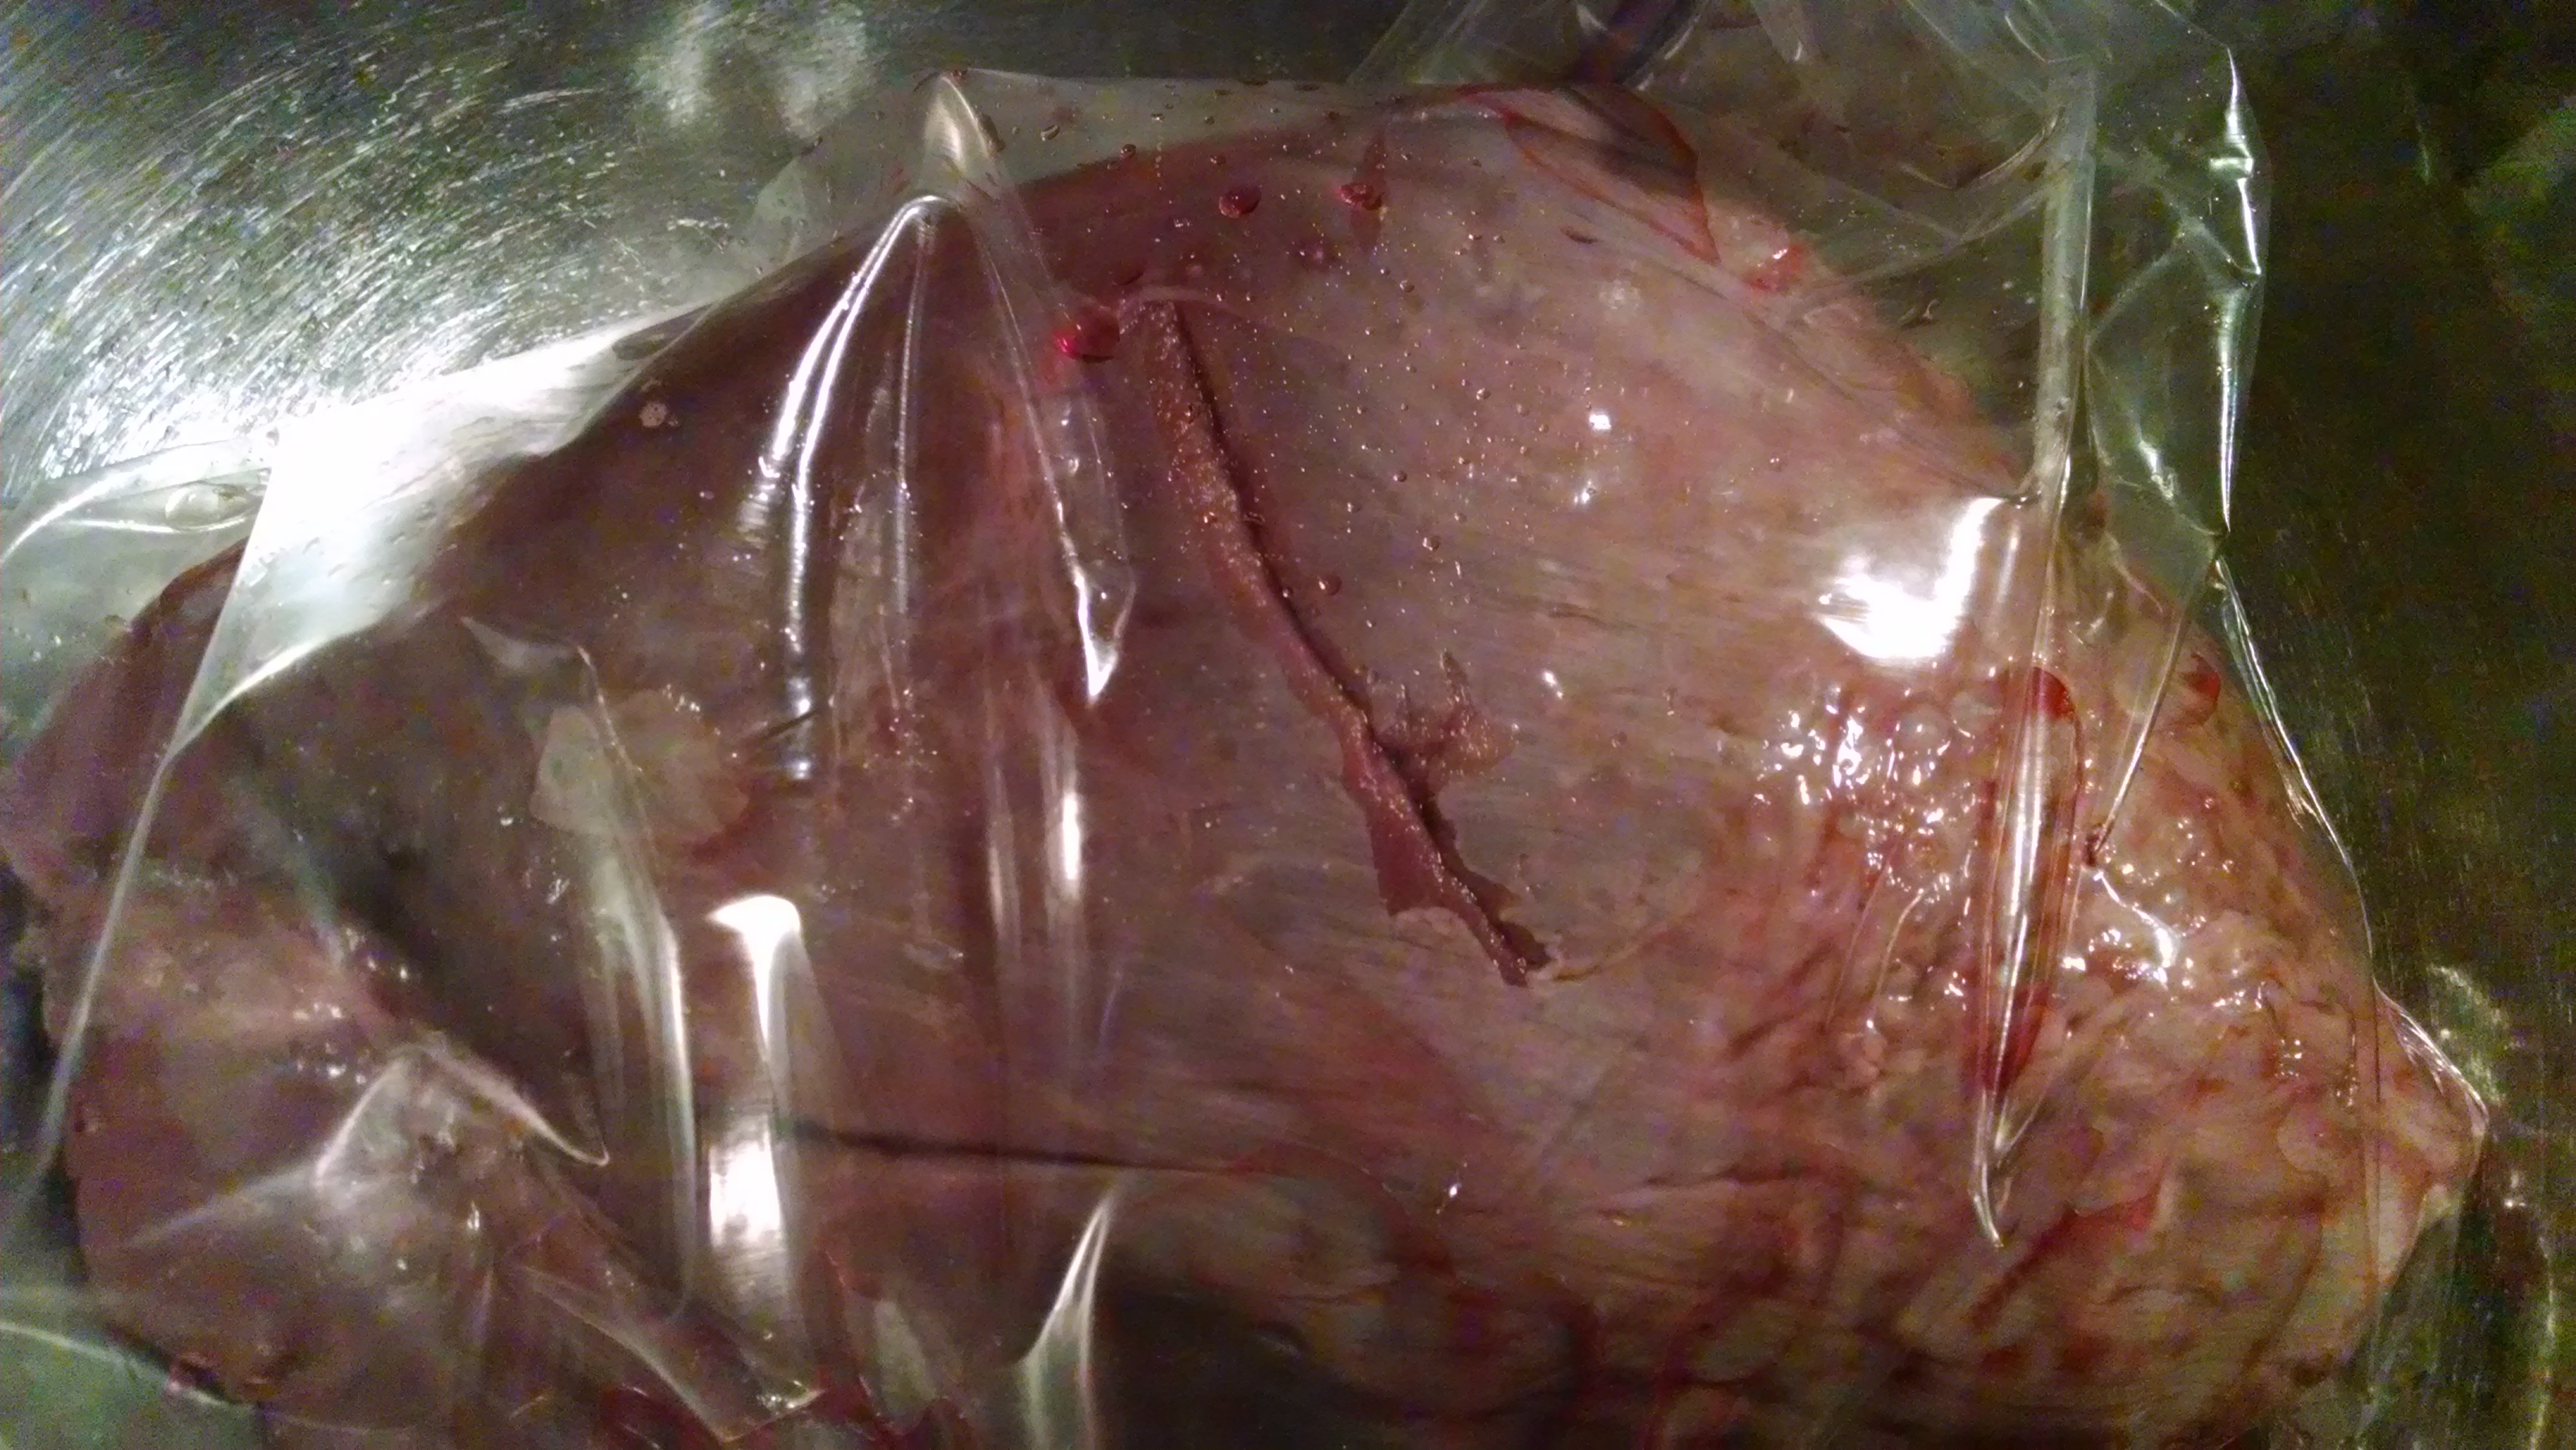
Remove from heat and add 3 cups of cold water. Place meat in a plastic bag and pour the brine over it. Refrigerate overnight. Mine sat in there for 18 hrs. Don’t forget to turn it about from time to time.
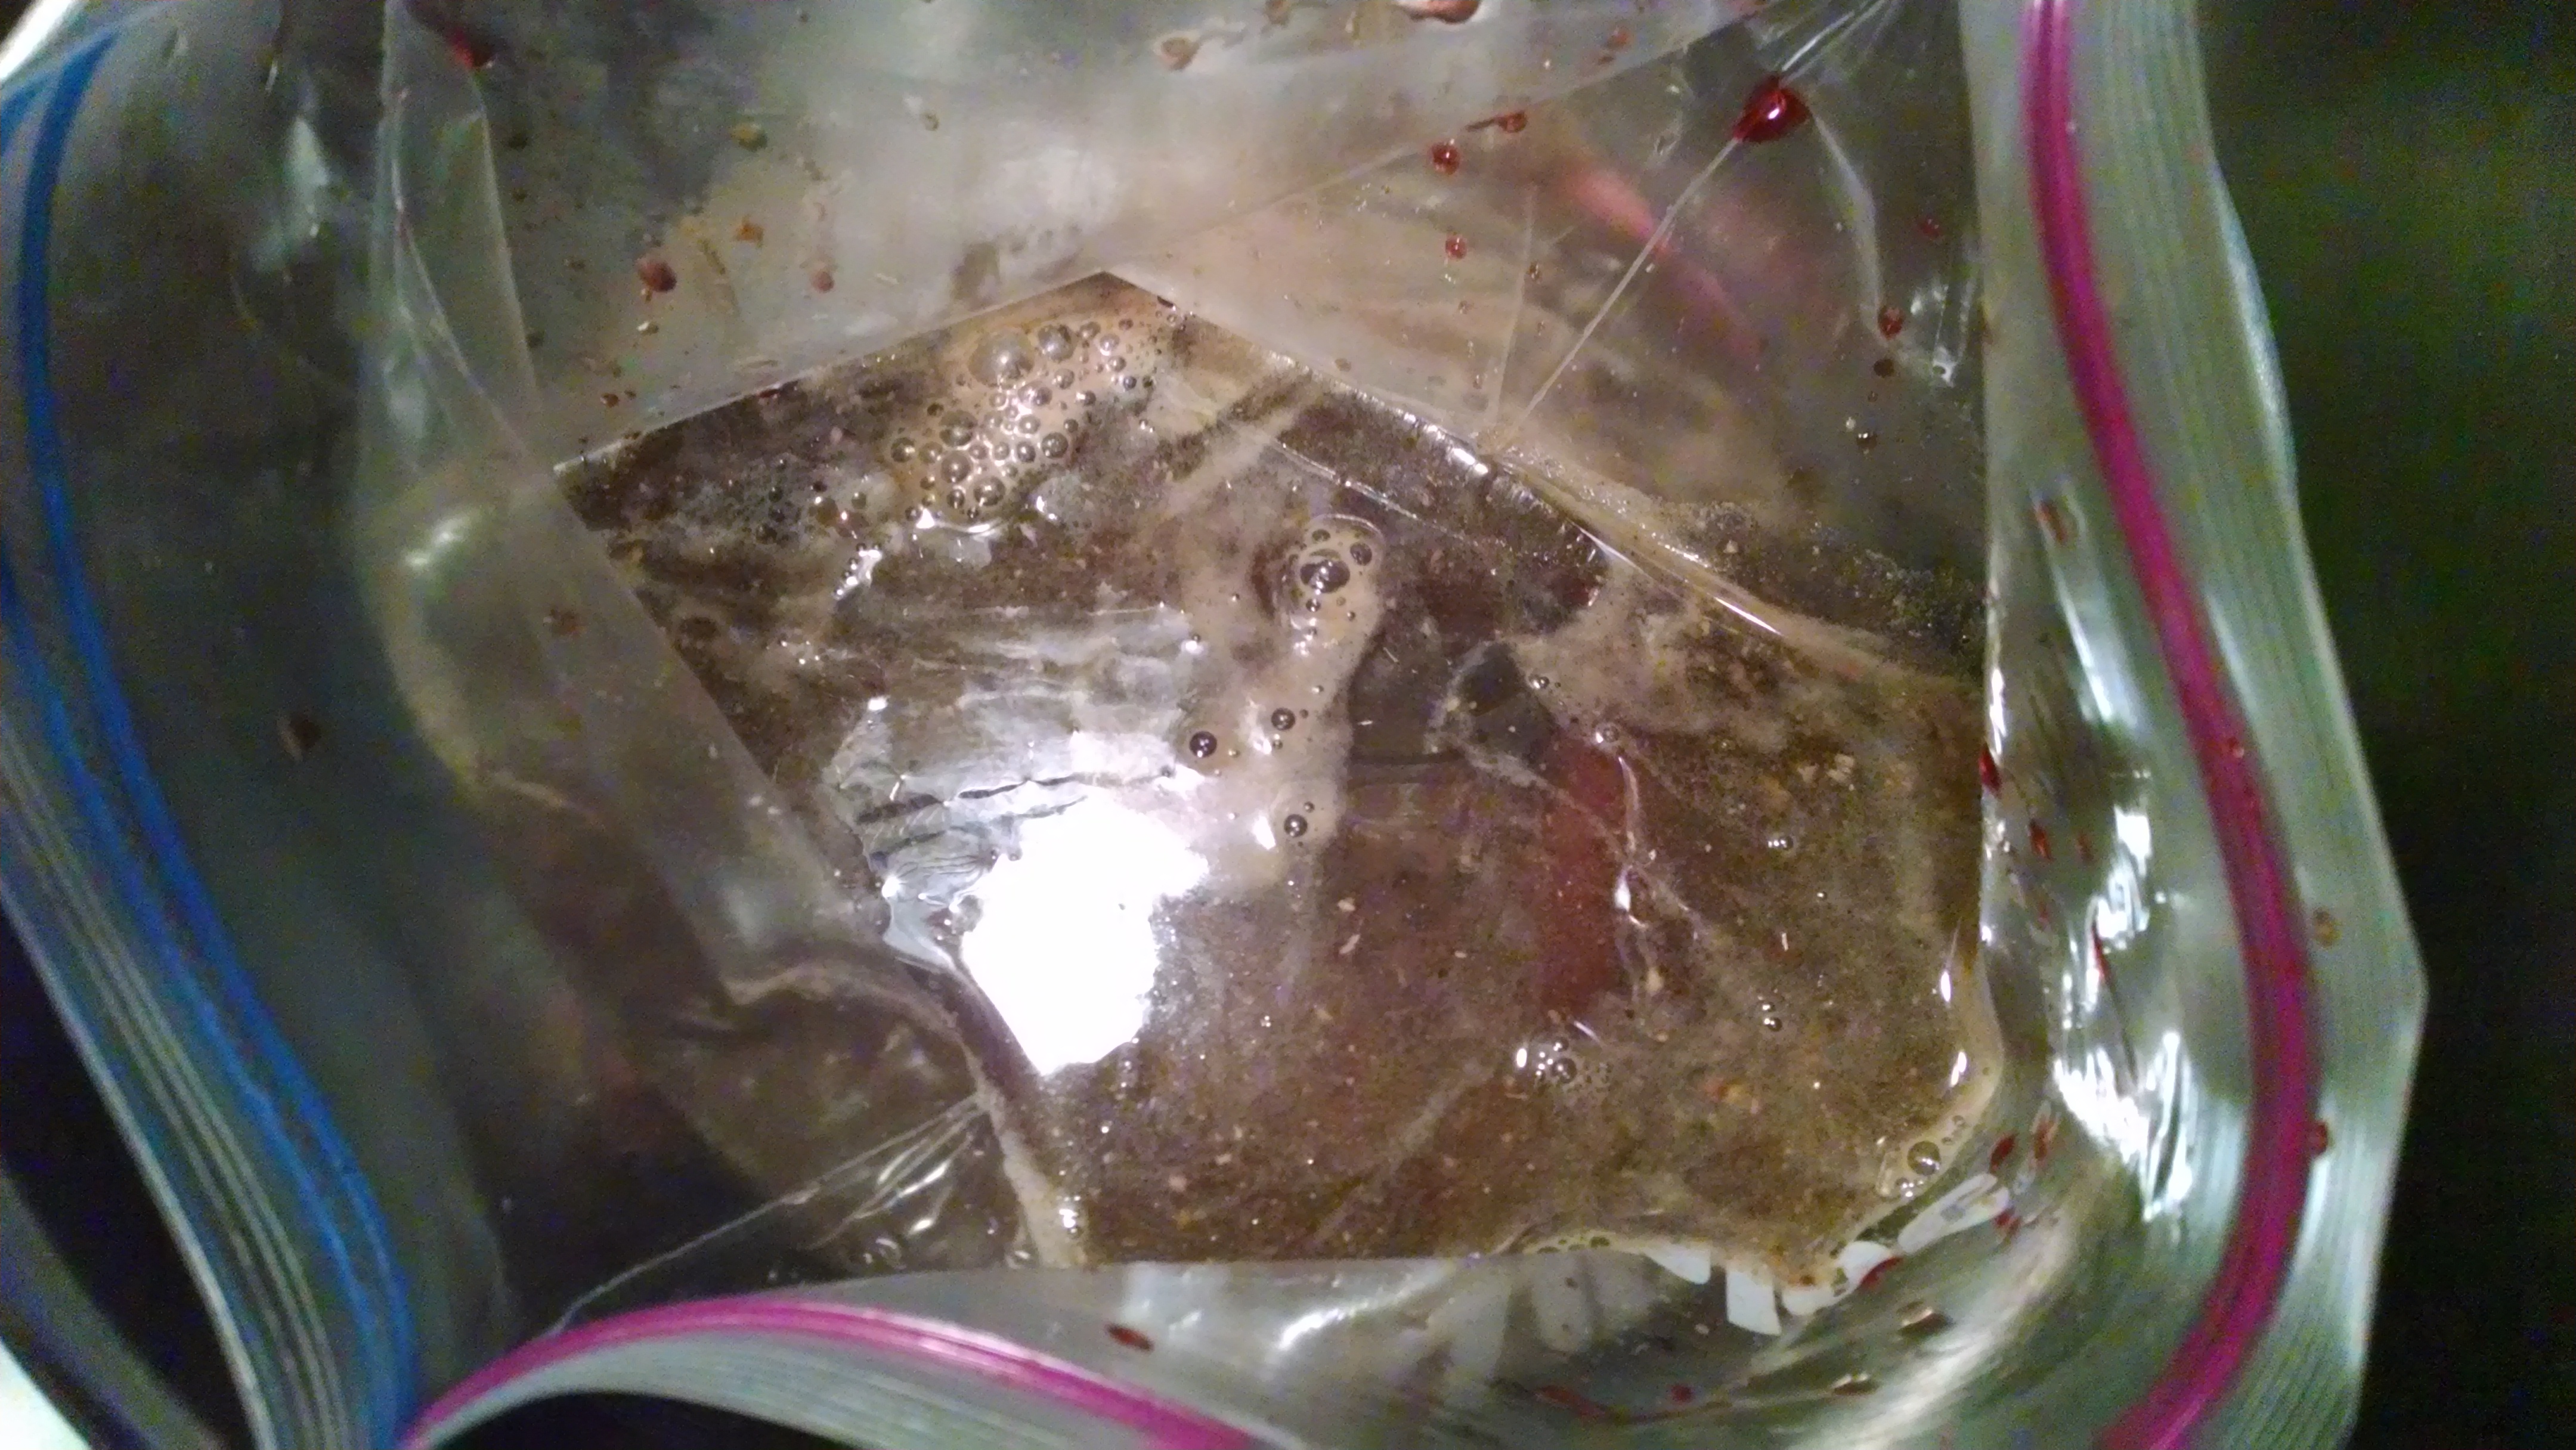
2. Drain
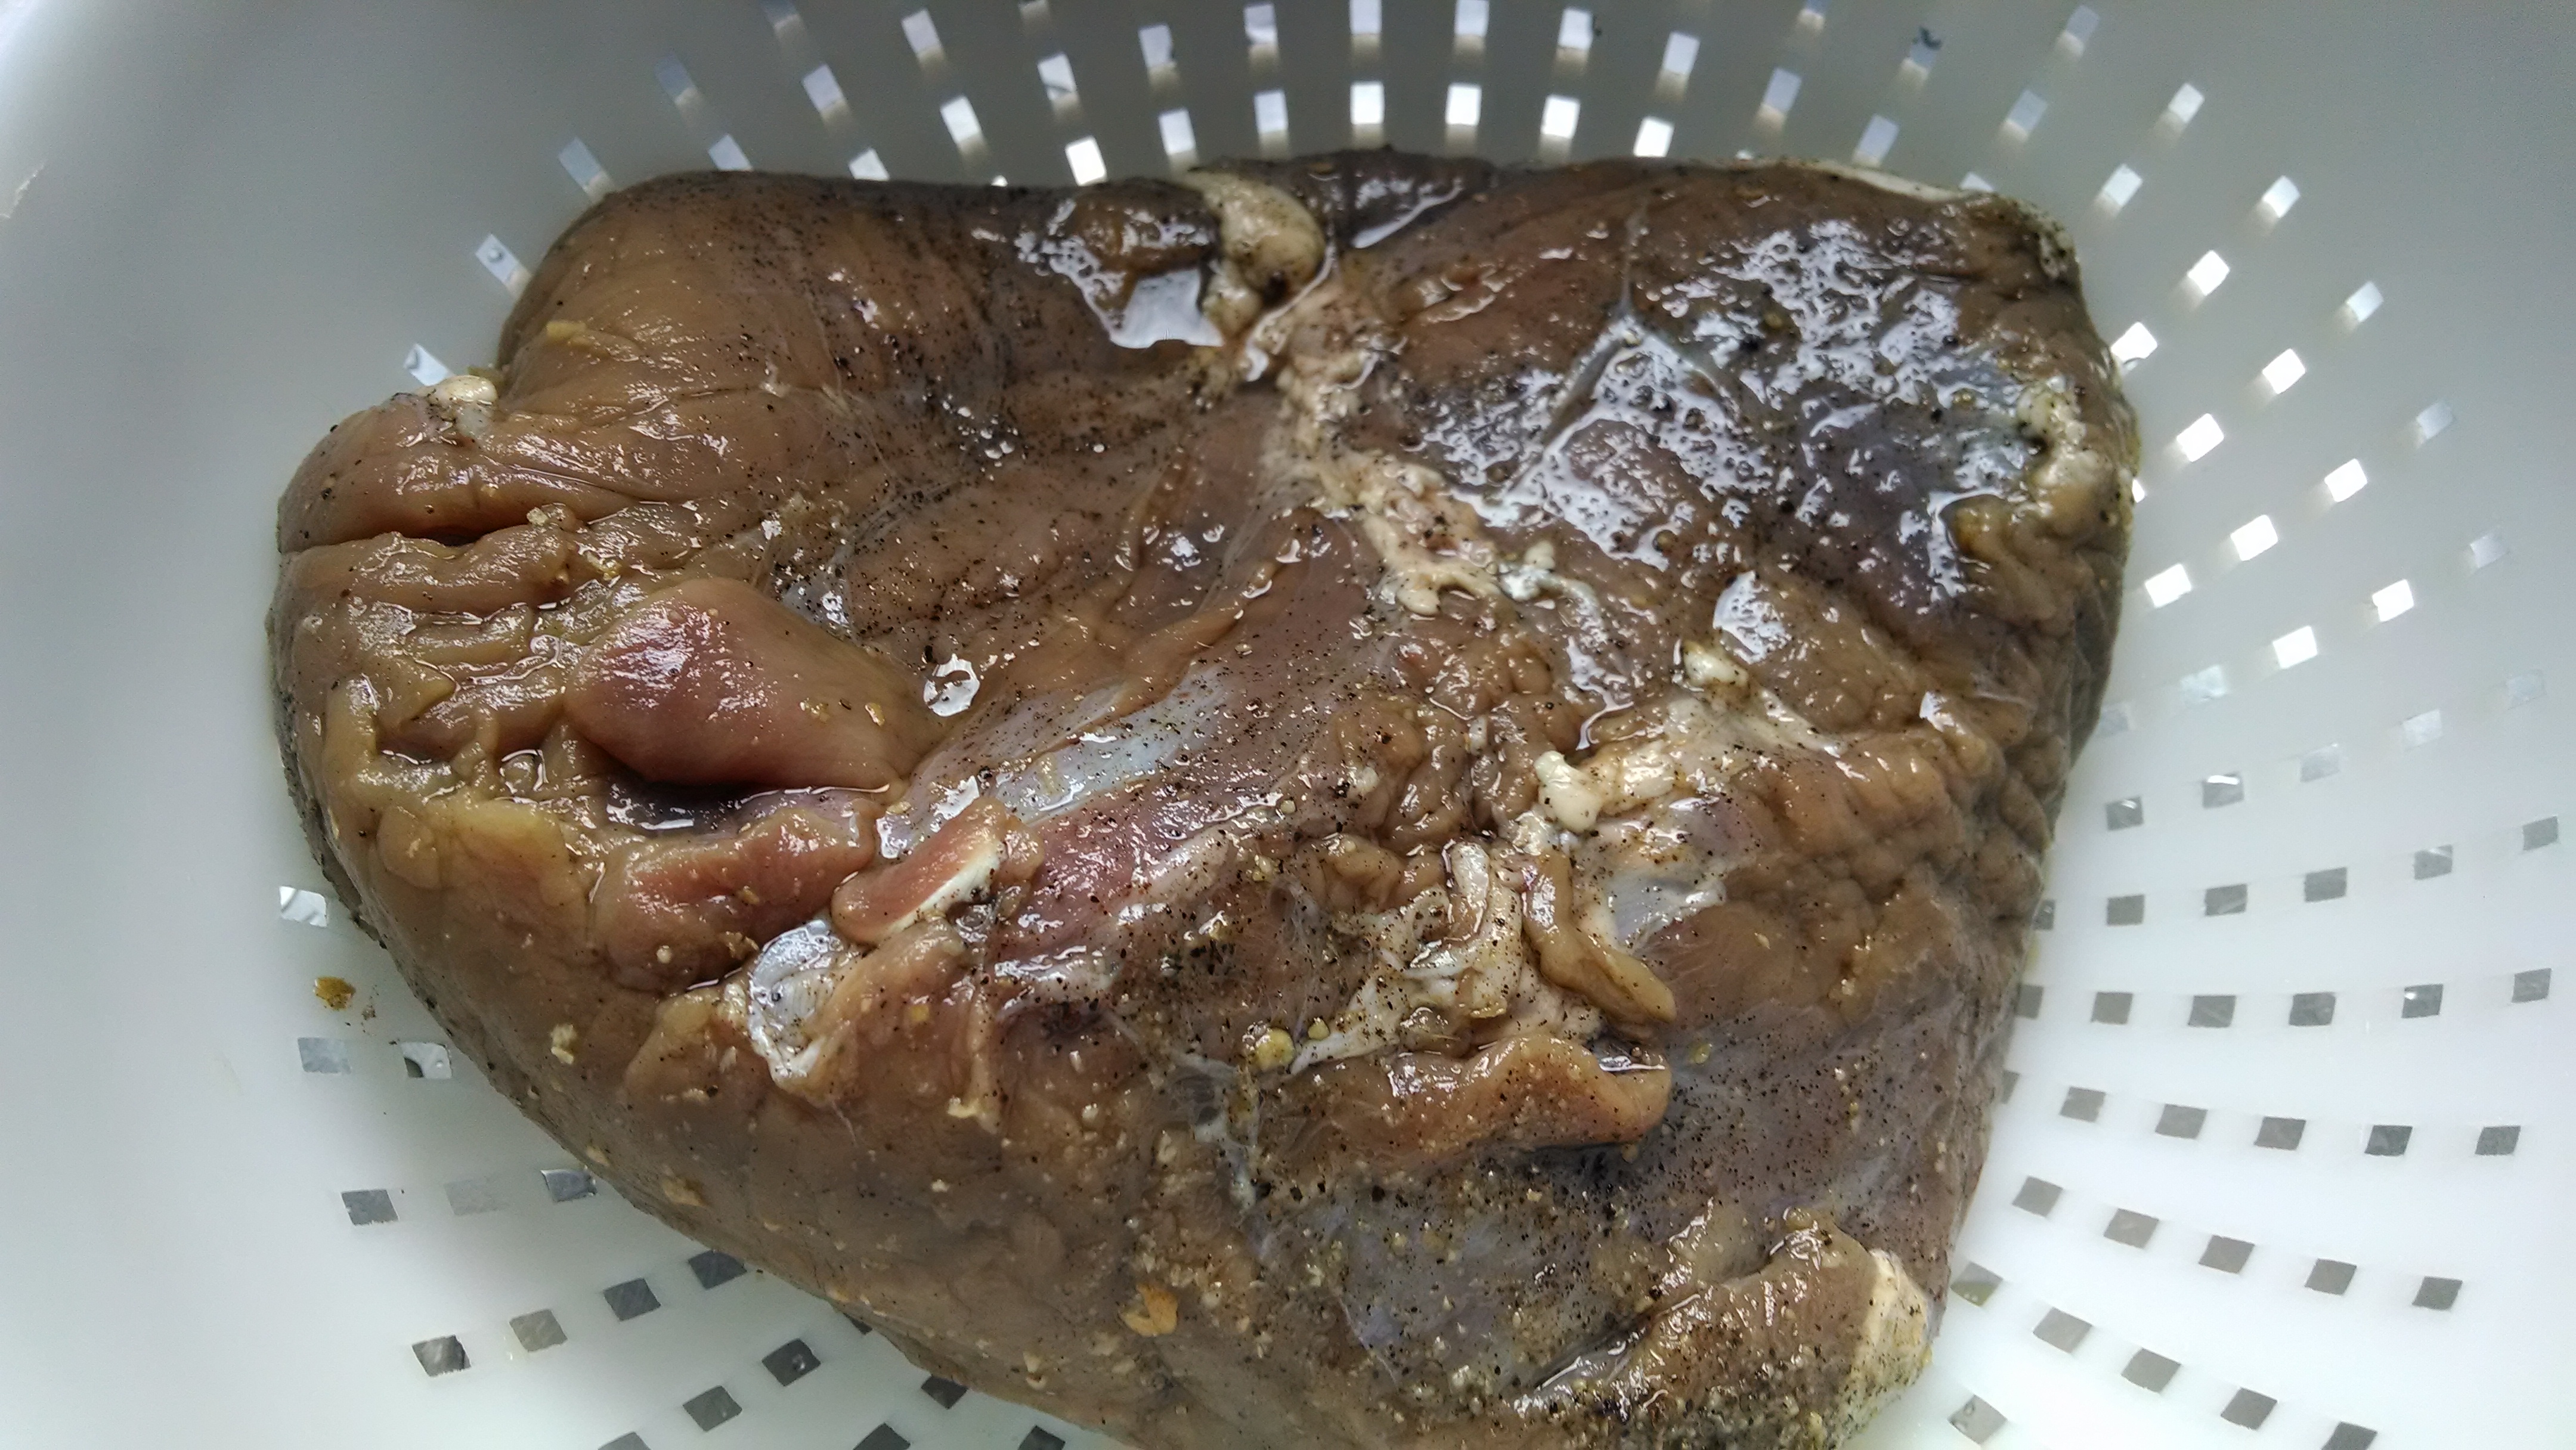
Discard the brine and pat dry with paper towels. Also, you want the meat to come to room temperature before putting in on the hot grill.
3. Prepare Grill
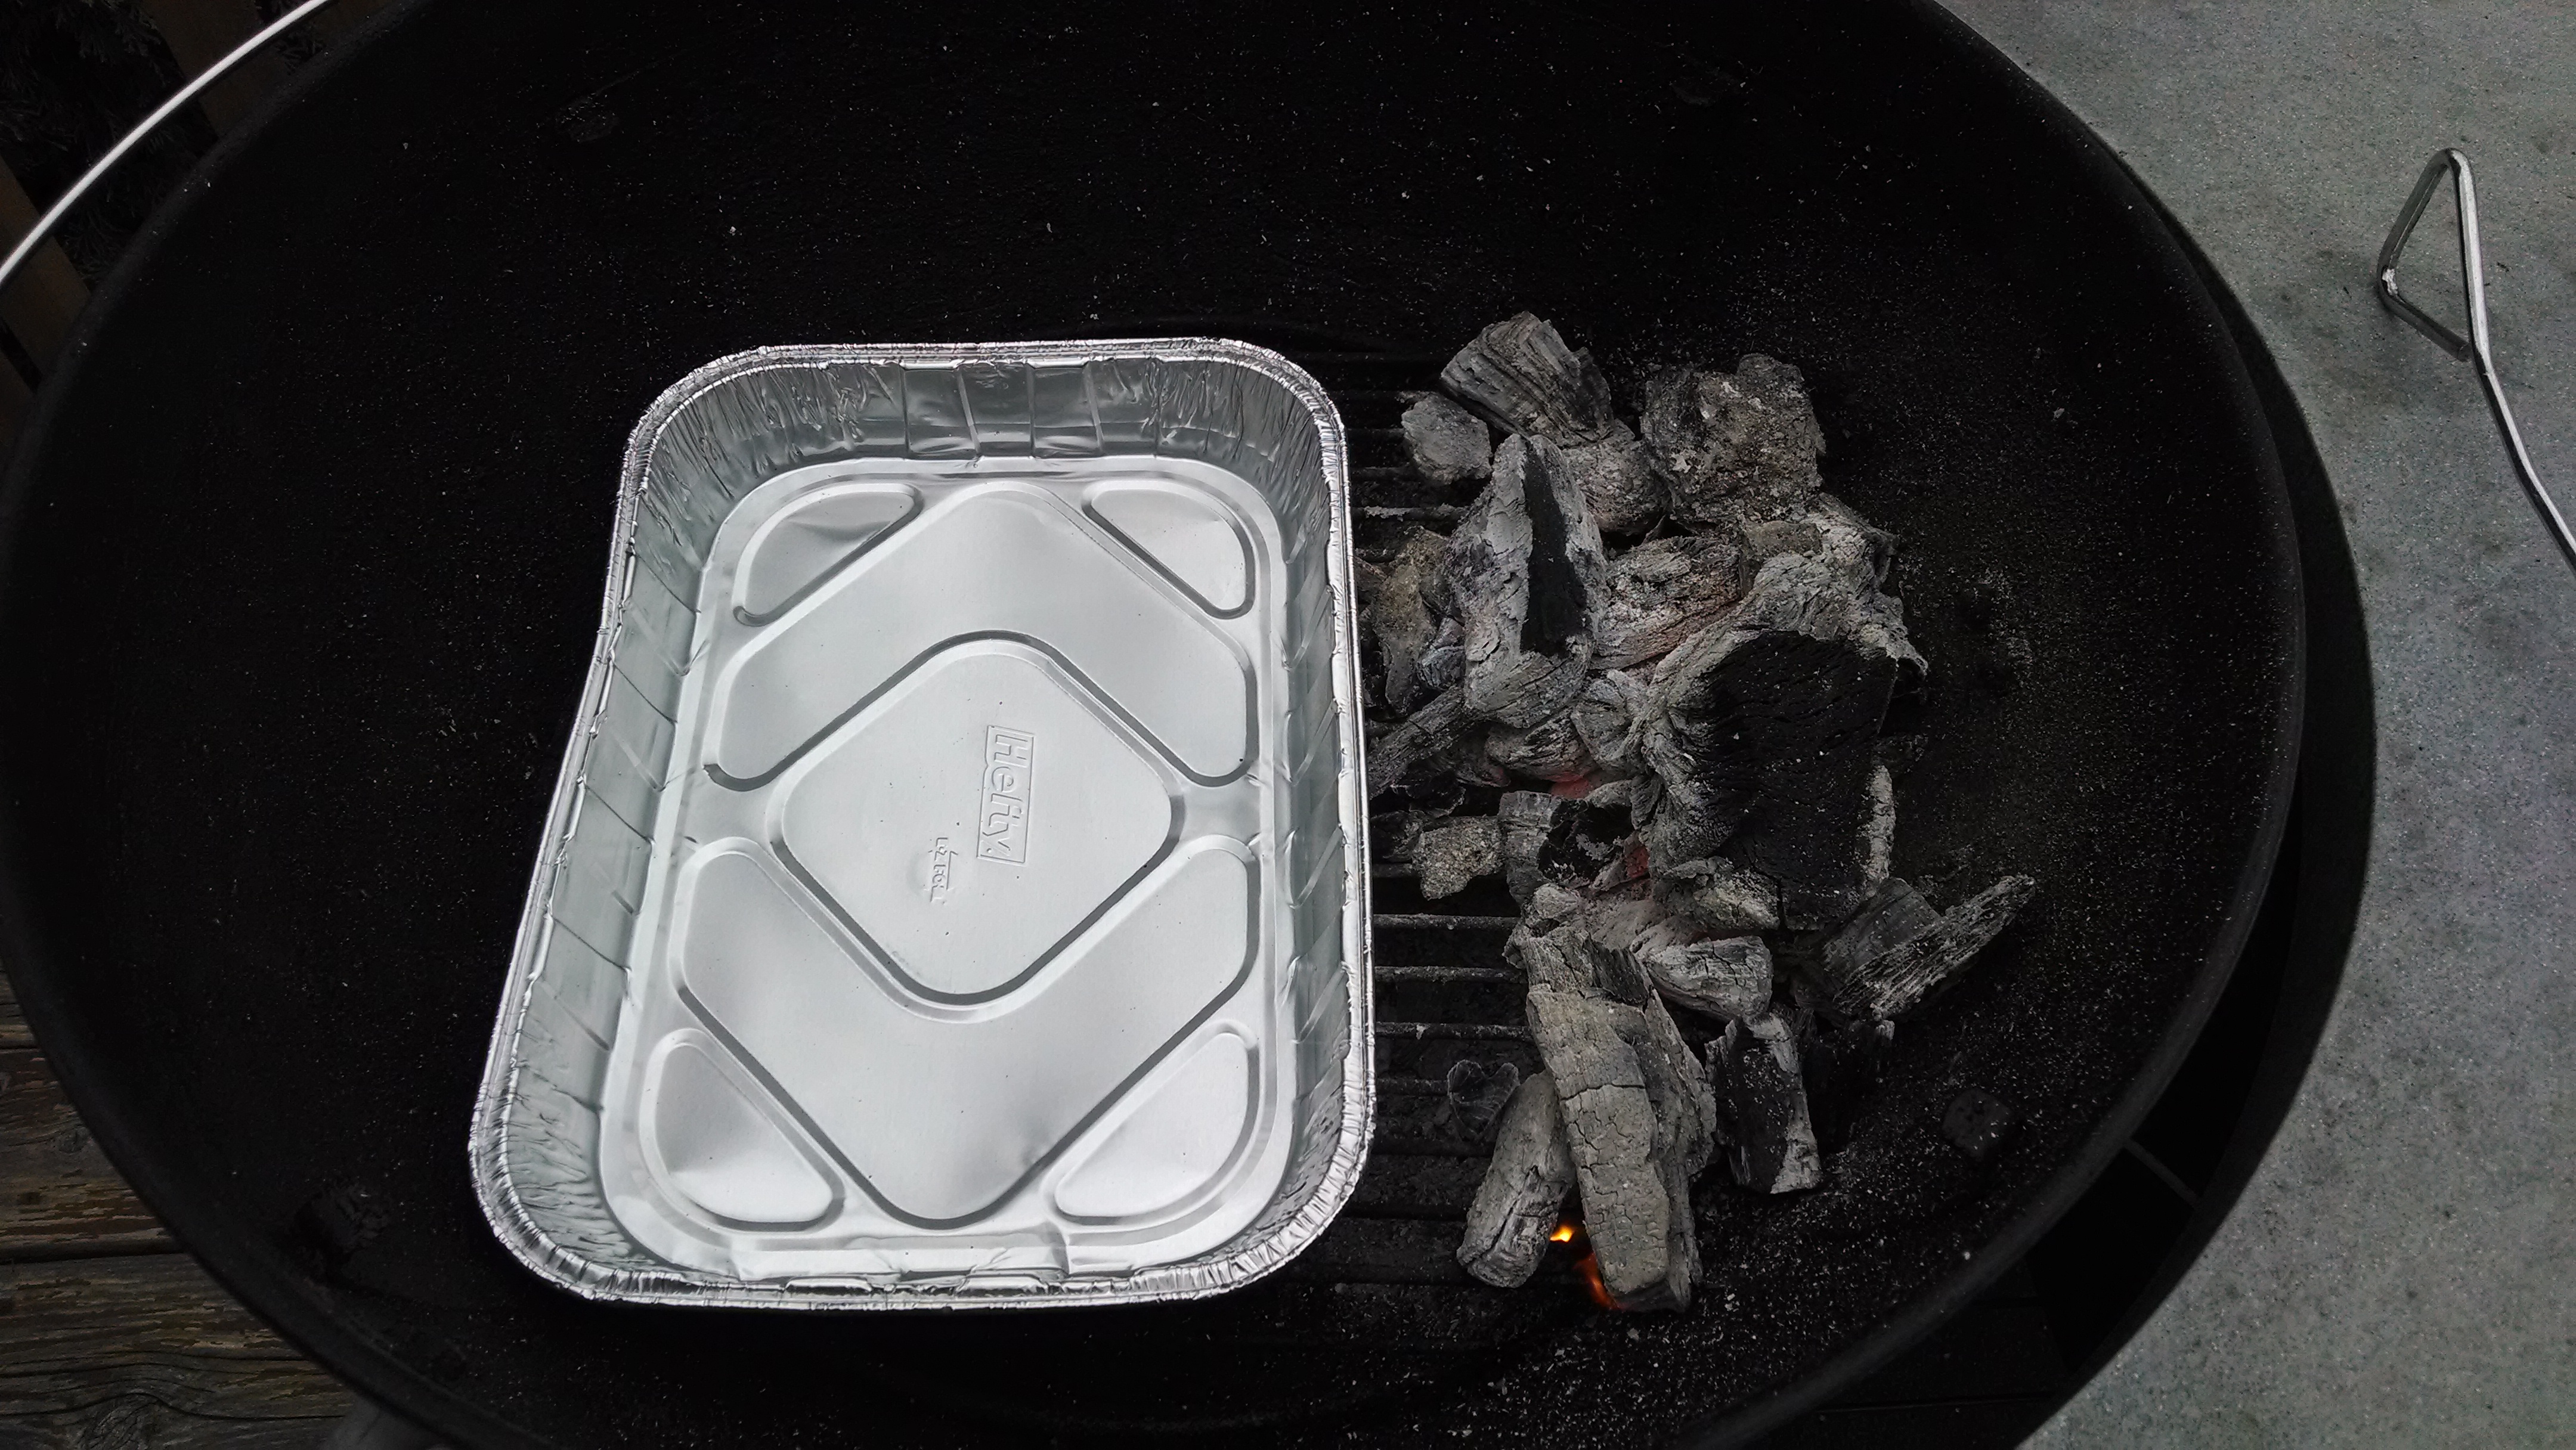
I use lump hardwood charcoal – it burns hot, smells great, and won’t leave any soot on your food. Once the coals are lit bank them to the side. Place a shallow aluminum pan on the other side and fill with about 1″ of warm water.
4. Rub
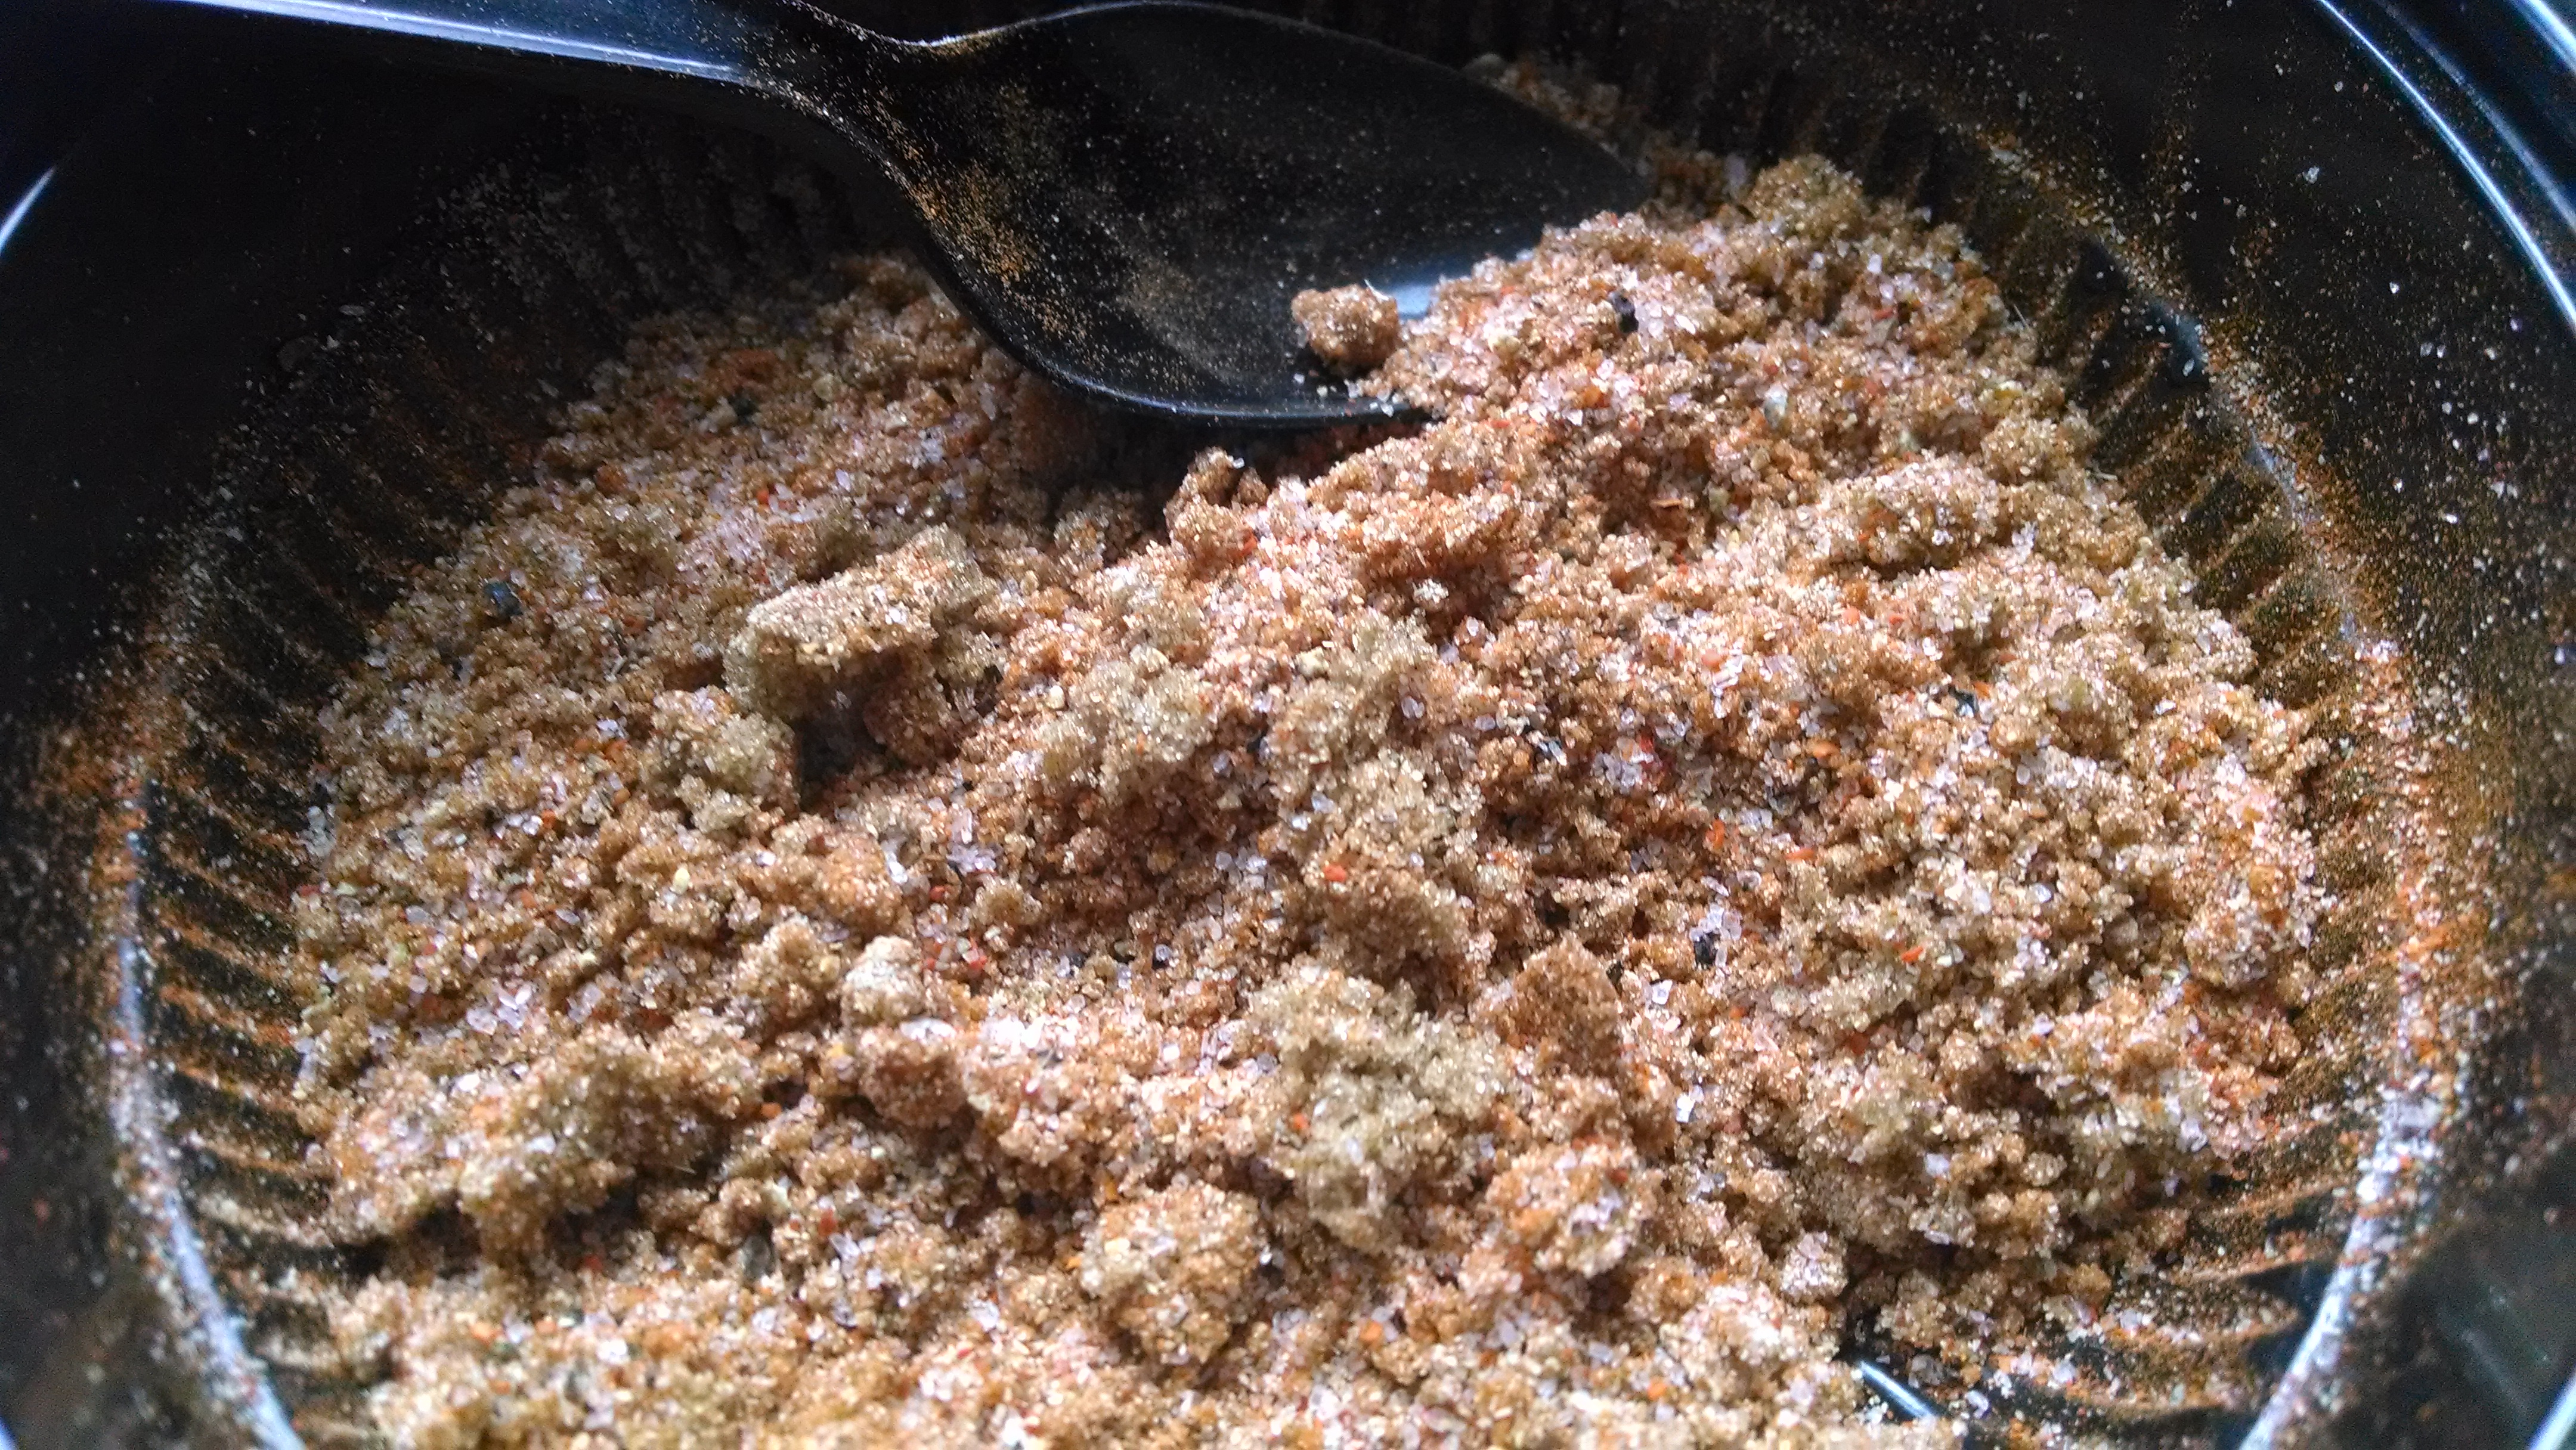

For the rub I used the plastic spoon in the spice cabinet as a measure. Just mix these together and apply generously after drying the meat.
- 2 heaping tsp Sea Salt
- 2 heaping tsp Brown Sugar
- 1 tsp Garlic Powder
- 1 tsp Chili Powder
- 1 tsp Paprika
- 1 tsp ground Black Pepper
5. Smoke
Keep the grill temp. between 230 – 250 degrees.
I mixed Hickory and Apple wood chips. Soak them in hot water for at least 30 min. Take 2 hands full of the chips and sprinkle over the hot coals. Replenish whenever the smoke dies down.

Technique: I use a wireless digital thermometer that’s around $20. It’s totally worth it to keep an eye on the grill temp. from inside the house when it’s raining or below 40 degrees or both. The grill’s built-in thermometer gives you the temperature near the lid. I lay the thermometer on the grate to give the temperature where the food is placed. When the grill gets to 225, I know to add more charcoal. After 90 mins check the temperature of the meat.
6. Mop
After 40 mins on the grill start mopping the roast every 20 min. It’s pretty much the grilling version of basting. I usually mop whenever I open the lid to replace the wood chips or add more charcoal.
I found a nifty Dr. Pepper mop. Usually there is a lot of excess mop when I’m done smoking and I end up pouring it down the drain. This was a simple recipe that I could adjust for volume. When the Dr. Pepper heats up it smells like autumn and you can make out the different flavors in the pop. My mom said she smelled a bit of pumpkin and clove.
4 parts Dr. Pepper to 1 part Honey – (1 cup Dr. Pepper & 1/4 cup Honey)
Bring to a simmer in a small saucepan for 5 min. Then turn off heat and cover until needed.

I never noticed how purple it is. Cool!
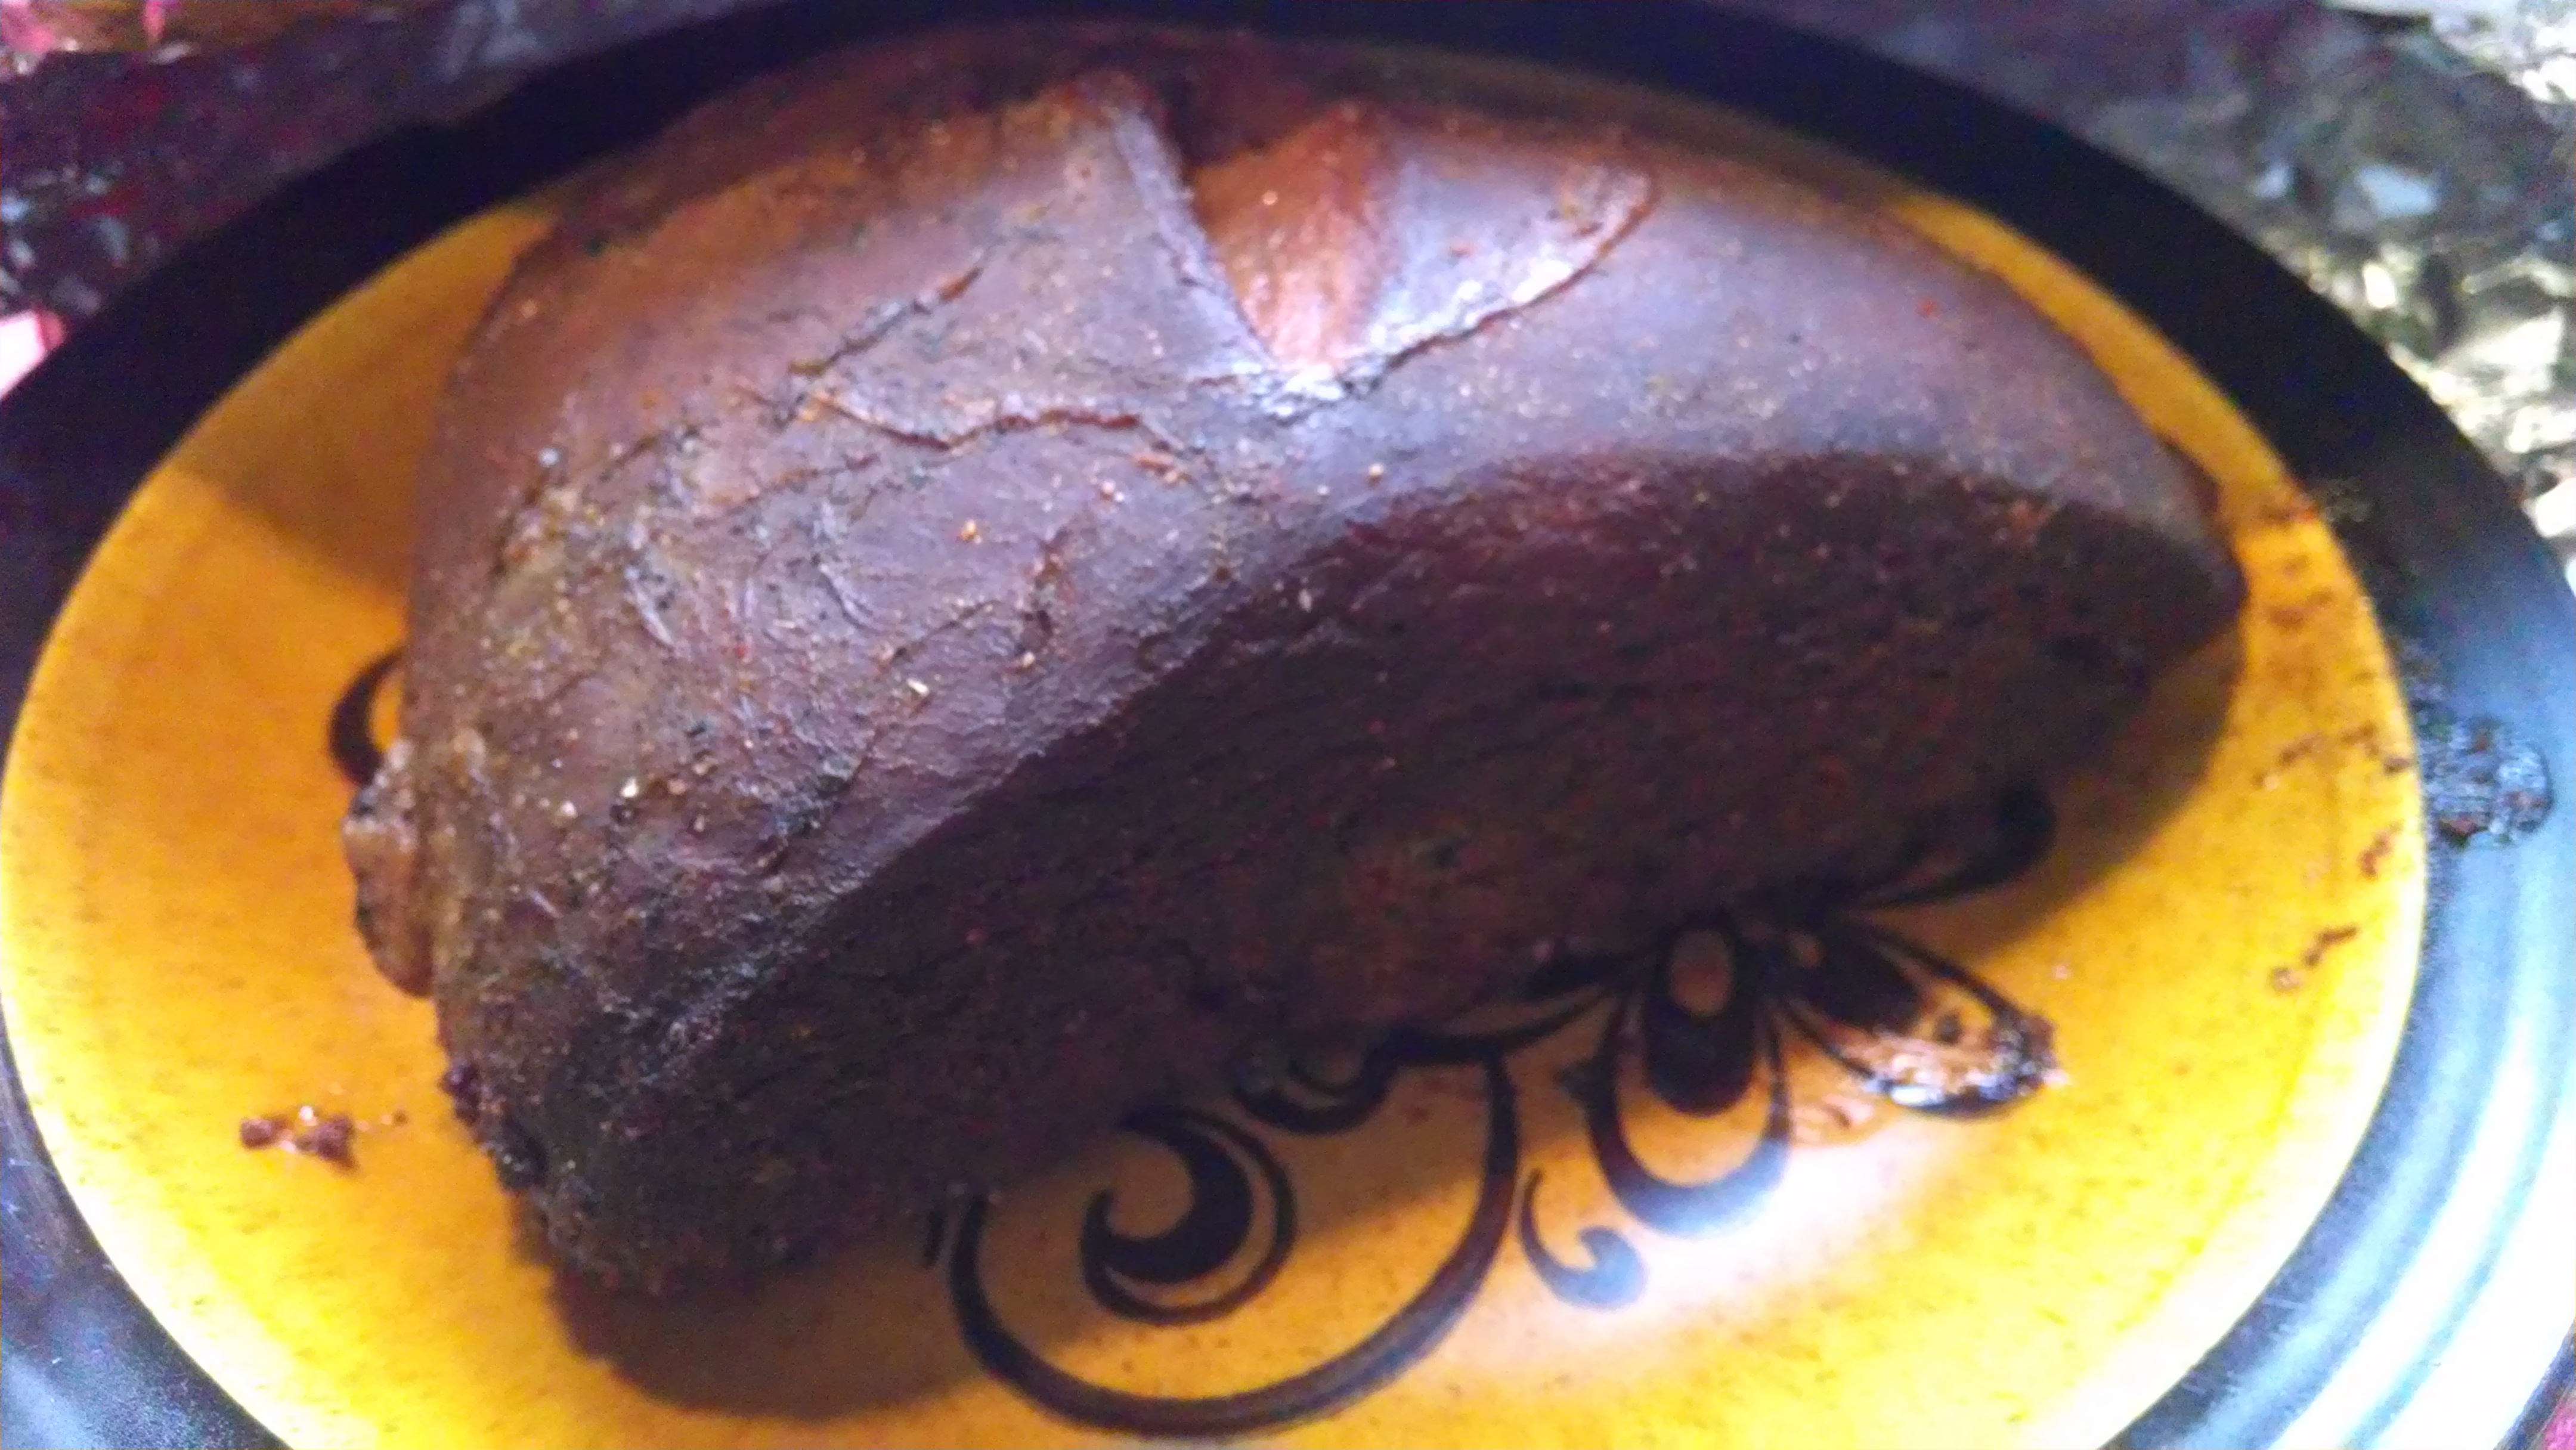
7. Rest
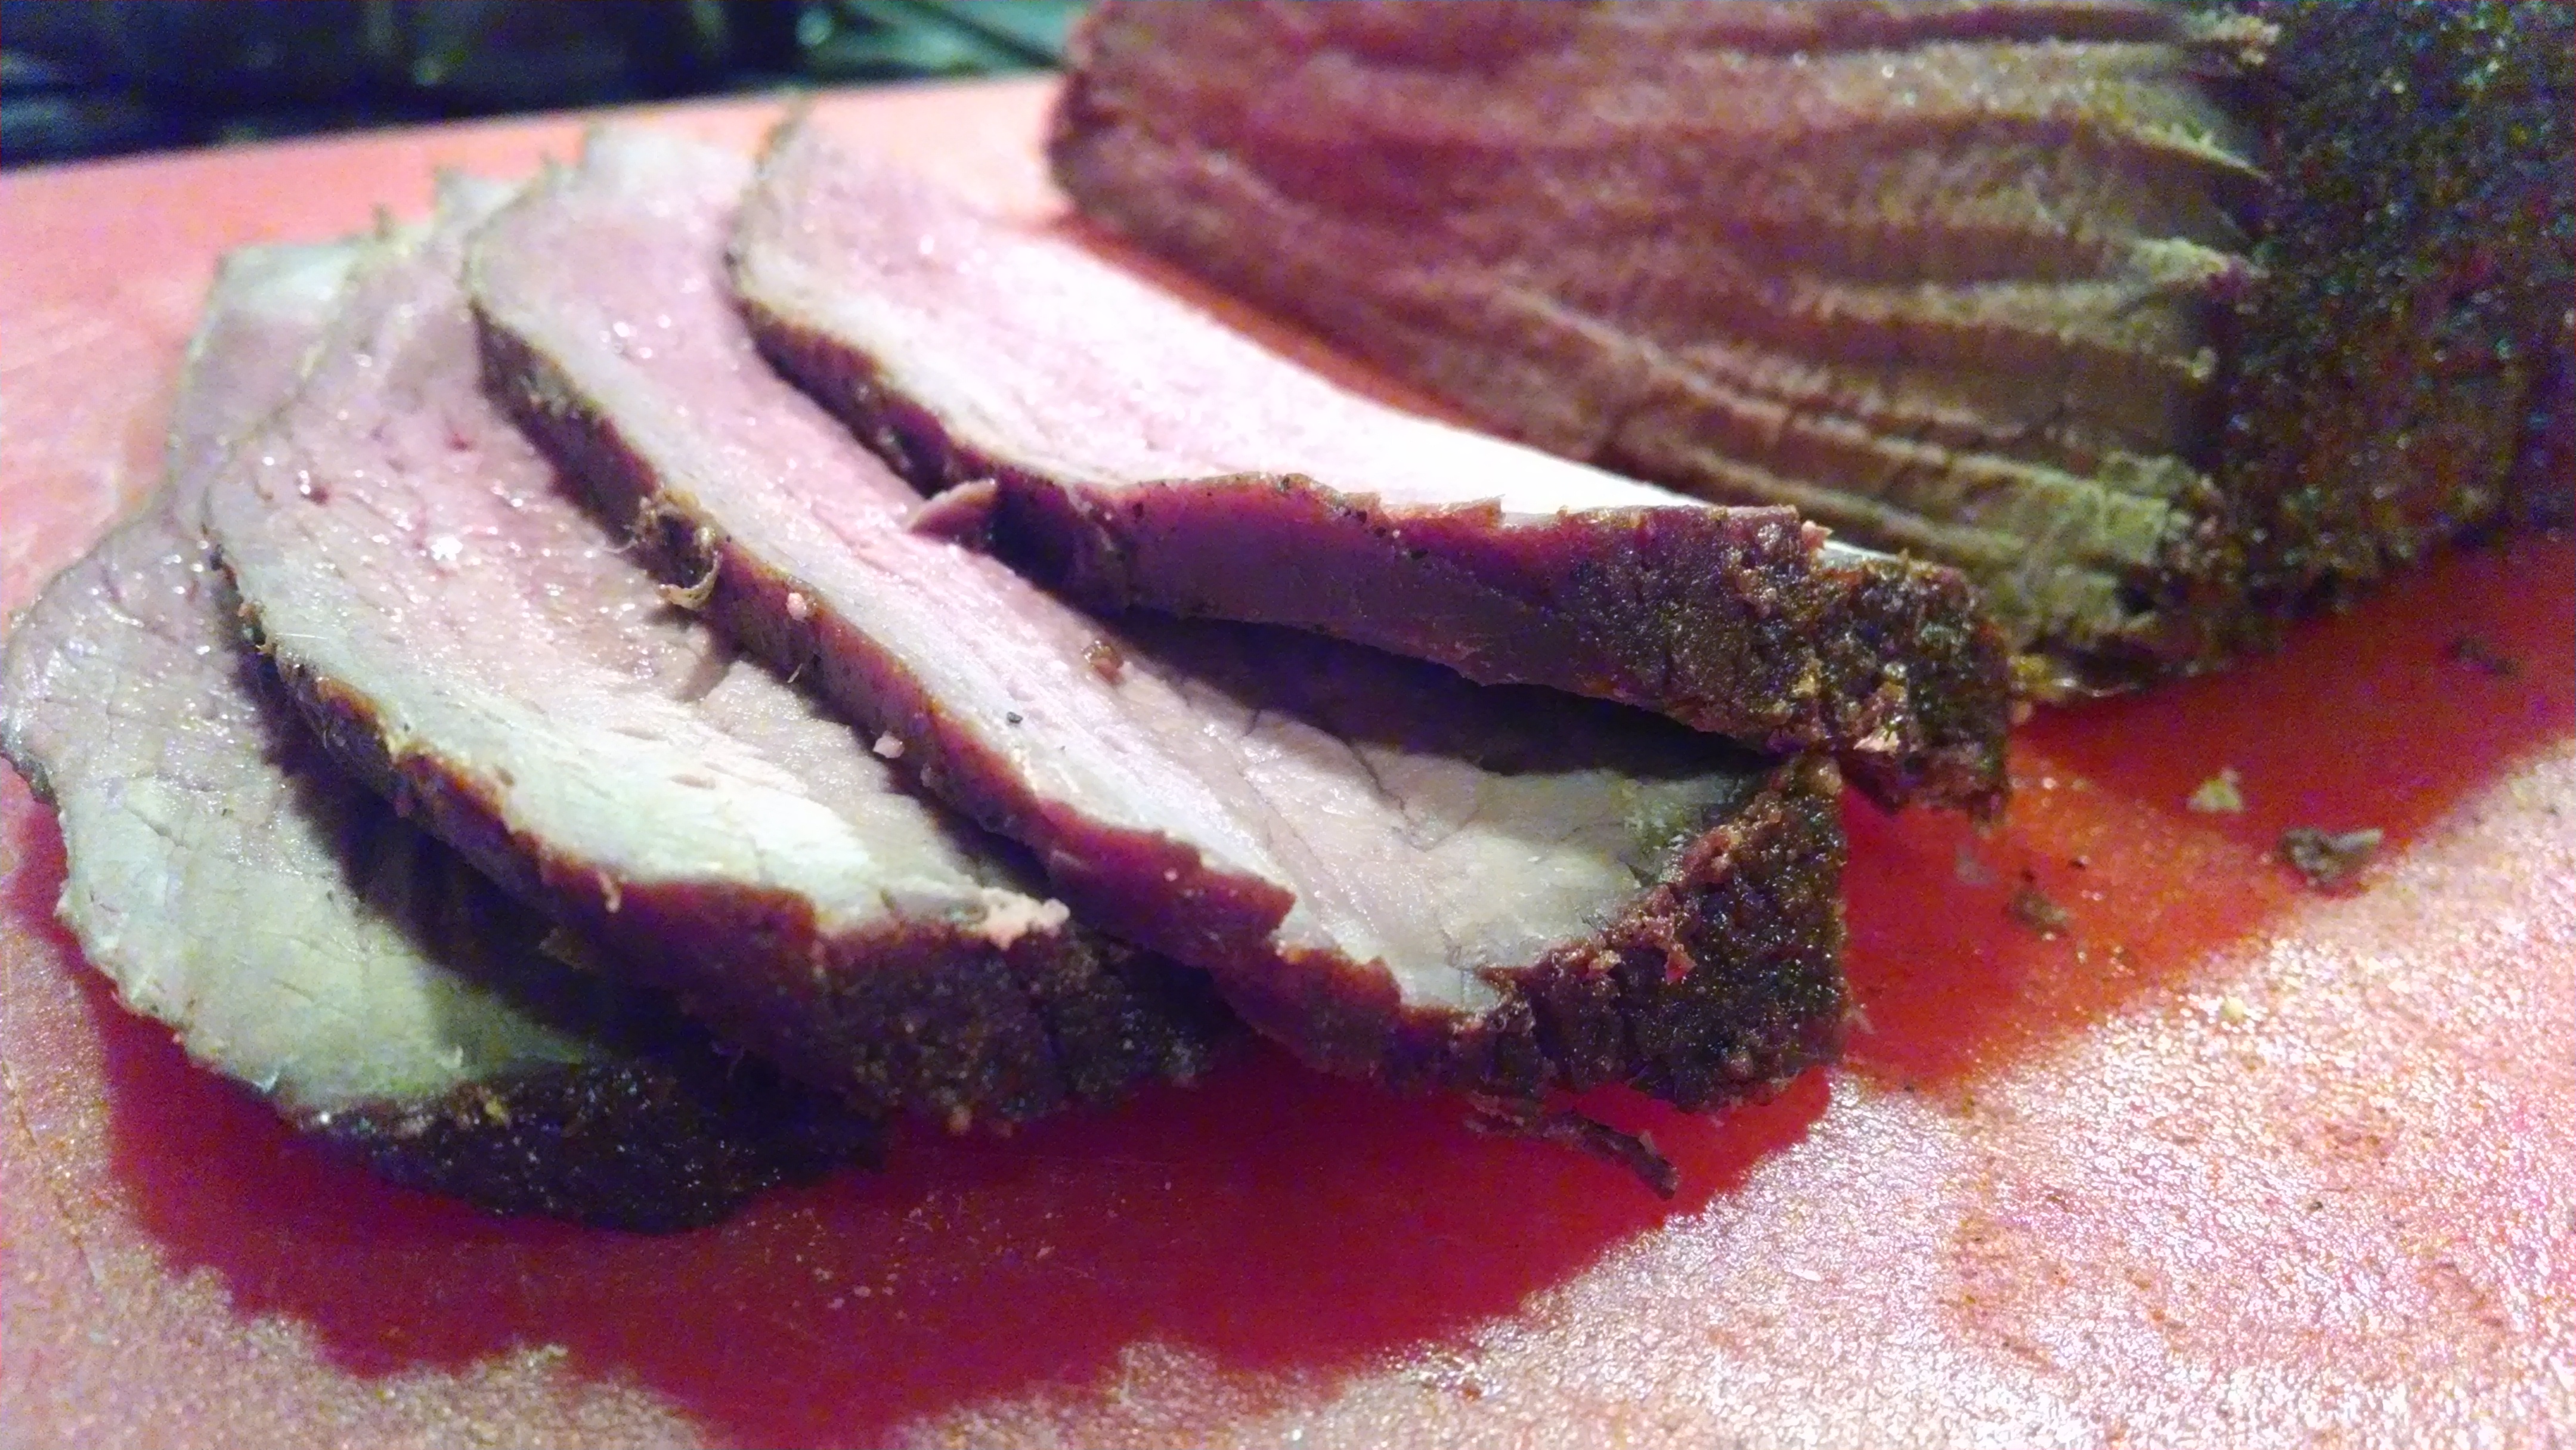
Once the roast reaches rare (140 degrees), take off the grill and cover in foil. Let rest for 30 min. By the time you eat it will be medium rare (145 degrees) and like roast beef. Slice the roast perpendicular to the grain.
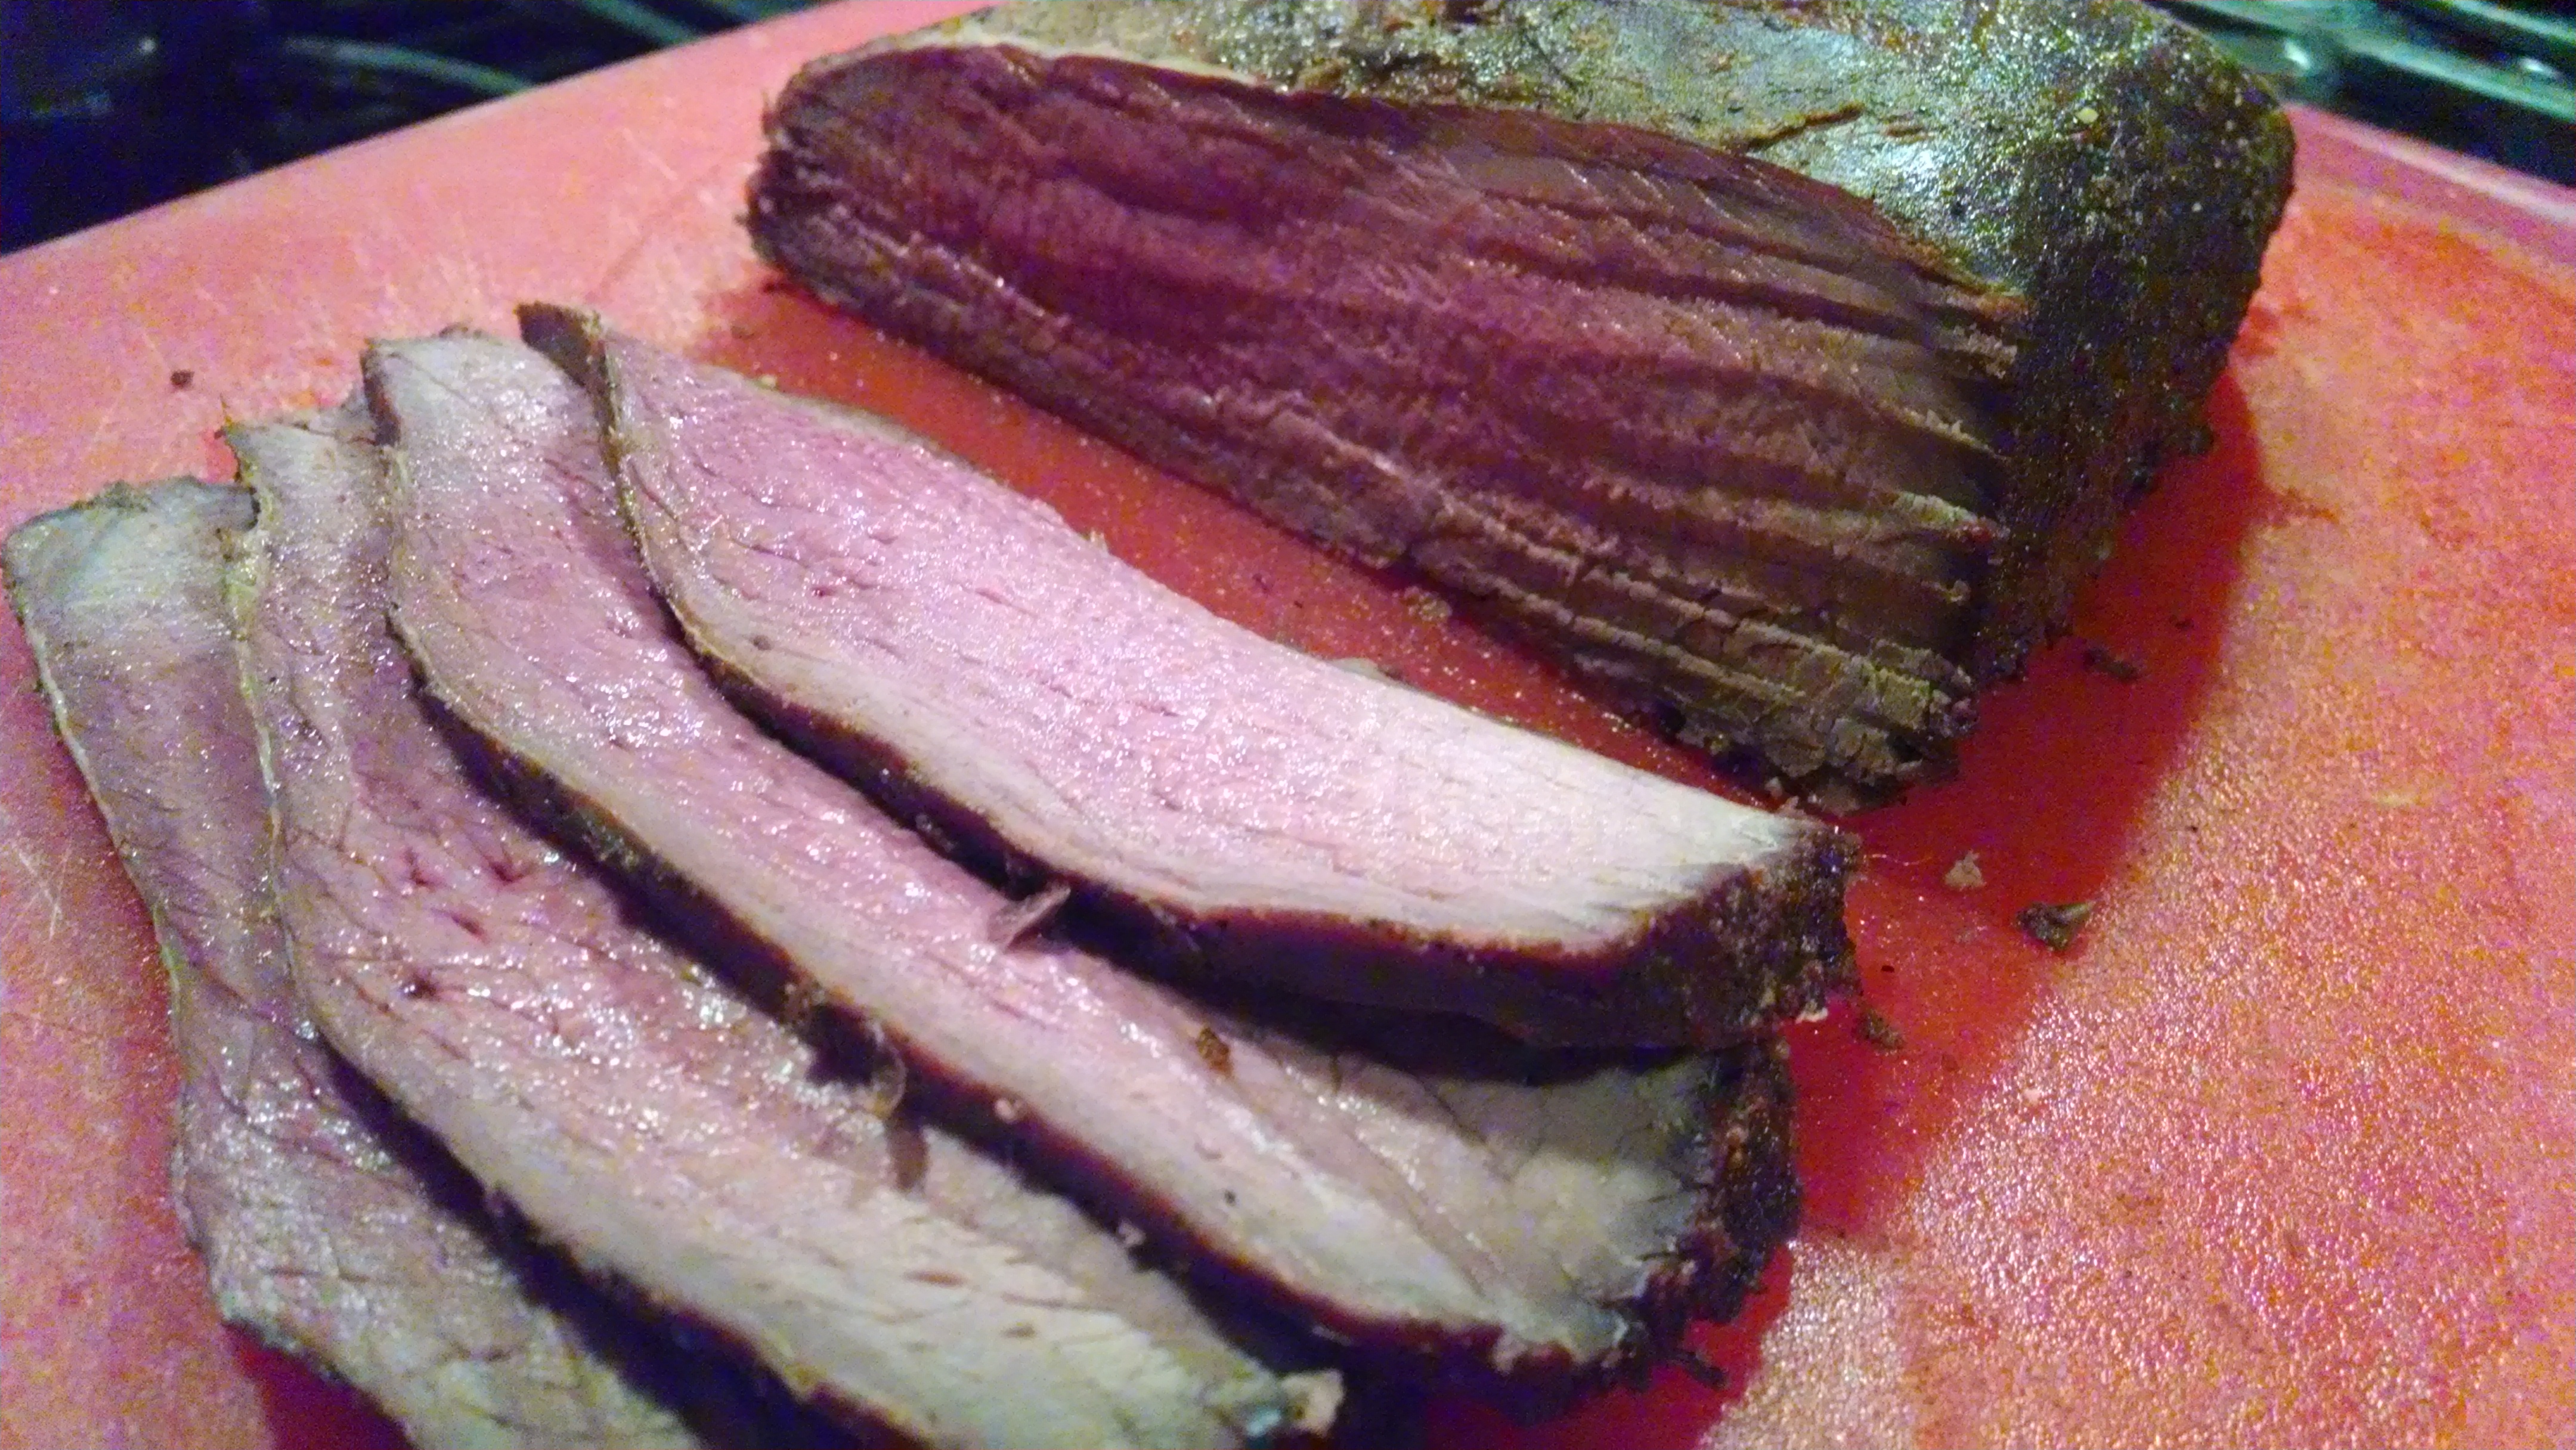
8. Dig In!

Did I reach my goals?
The brine got rid of most of the smell and the smoke took care of the rest.
I have to thank the brine again for breaking down the lean tissue. Cooking it to rare and allowing the roast to continue cooking off the grill helped to keep it moist. I actually waited an hour before slicing it up. It was a thing of beauty to see the juices dripping as I carved the roast.
I really liked the Dr. Pepper mop. Warming it brought out the different flavors in the drink. The roast had a hint of these flavors, but I think the mop would be most effective if used when roasting for a longer time. Maybe 3 hrs. or more. Nice thing was I didn’t have a liter of mop to toss out in the end.

Did you make vegetables or other things with your meal. It looks delicious!! Will try it too, but will bake it (no grill).
Does the 2 table spoons of ginger in the brine over power the taste of the meat.
Not at all! The ginger, while cutting the gamey smell of the meat, left a mild flavor.